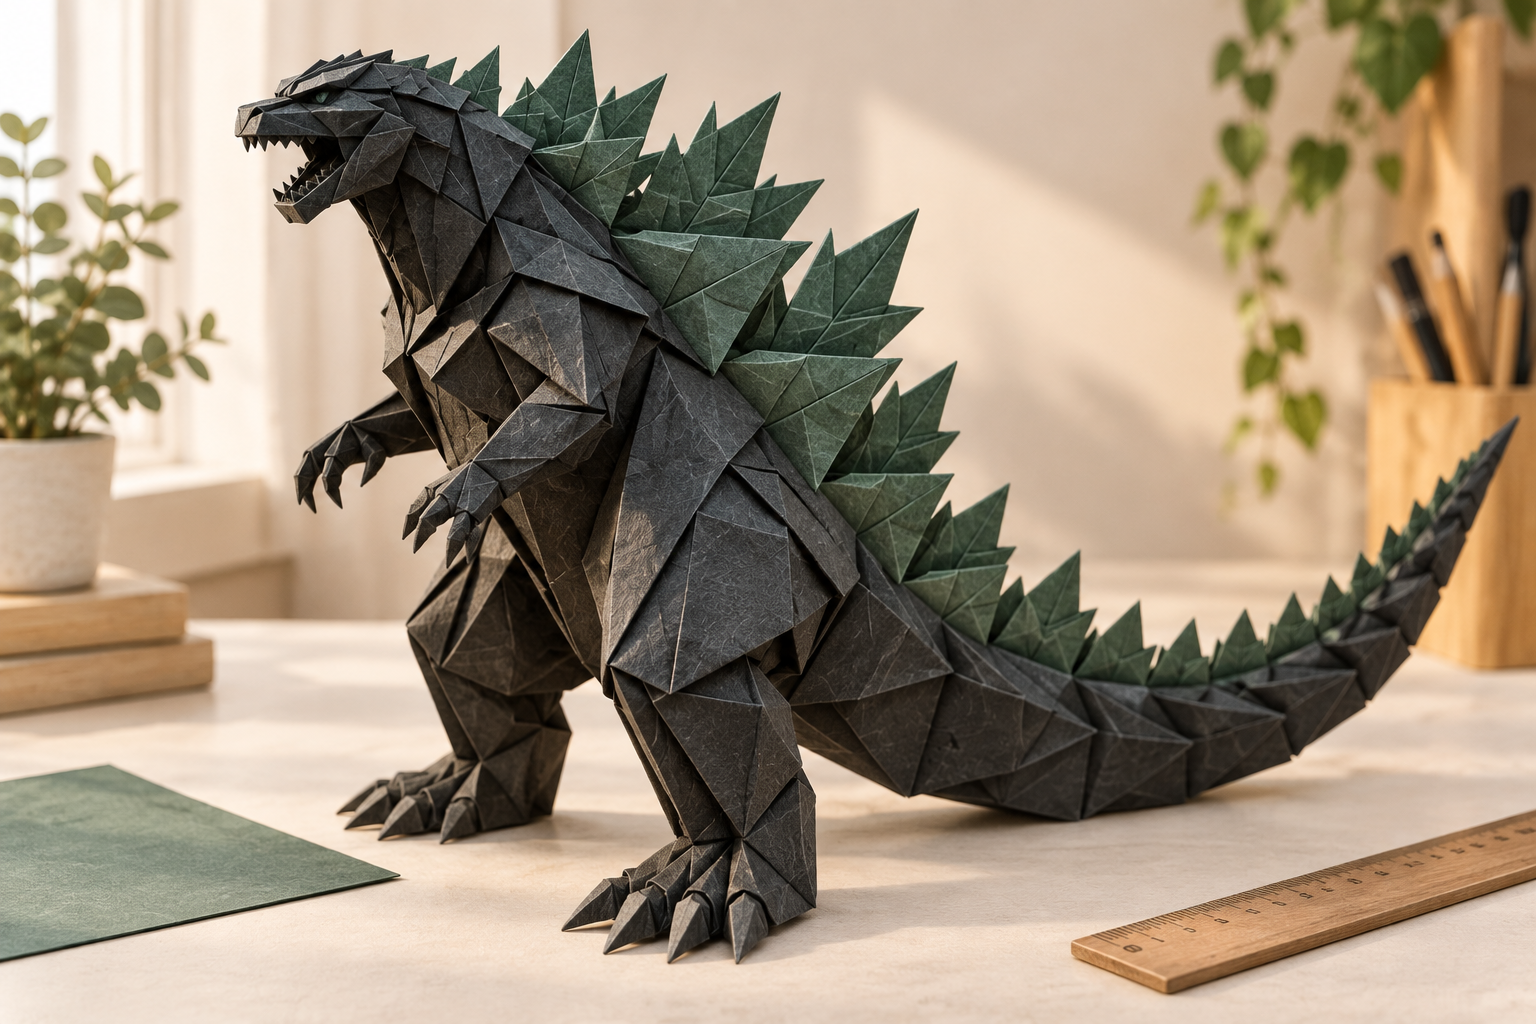
If you love paper crafts, Japanese-inspired designs, or impressive origami figures, this origami Godzilla is a fun project to add to your collection. The finished model has a recognizable monster silhouette with a long tail, powerful body, pointed head, legs and dramatic back plates.
The best part is that you don’t need special origami paper or complicated tools. With one square sheet of paper, careful folding and a little patience, you can create a small paper monster that looks surprisingly detailed.
This tutorial presents an original simplified Godzilla-inspired origami design developed for this article. It is not an official Godzilla pattern or an exact transcription of another creator’s instructions.
The model is designed to be approachable for intermediate beginners while still producing enough detail to make the finished figure interesting.
What You’ll Learn
In this tutorial, you’ll learn how to:
- Prepare square origami paper
- Create the main body
- Shape the head
- Build the long tail
- Form the legs
- Create the arms
- Add a distinctive monster back
- Shape the feet and claws
- Give the model a standing pose
- Make different sizes
- Experiment with different papers
- Troubleshoot common folding problems
- Create a simple family of paper monsters
Finished Model at a Glance
| Feature | Recommendation |
|---|---|
| Skill level | Beginner to intermediate |
| Main material | One square sheet |
| Recommended size | 20 × 20 cm |
| Finished height | Approximately 8–12 cm |
| Folding time | 20–40 minutes |
| Paper thickness | Lightweight to medium |
| Best paper | Origami paper |
| Main technique | Folding and shaping |
| Glue | Not required |
| Scissors | Not required |
The final size depends heavily on the paper size and how tightly you fold the model.
Materials You’ll Need
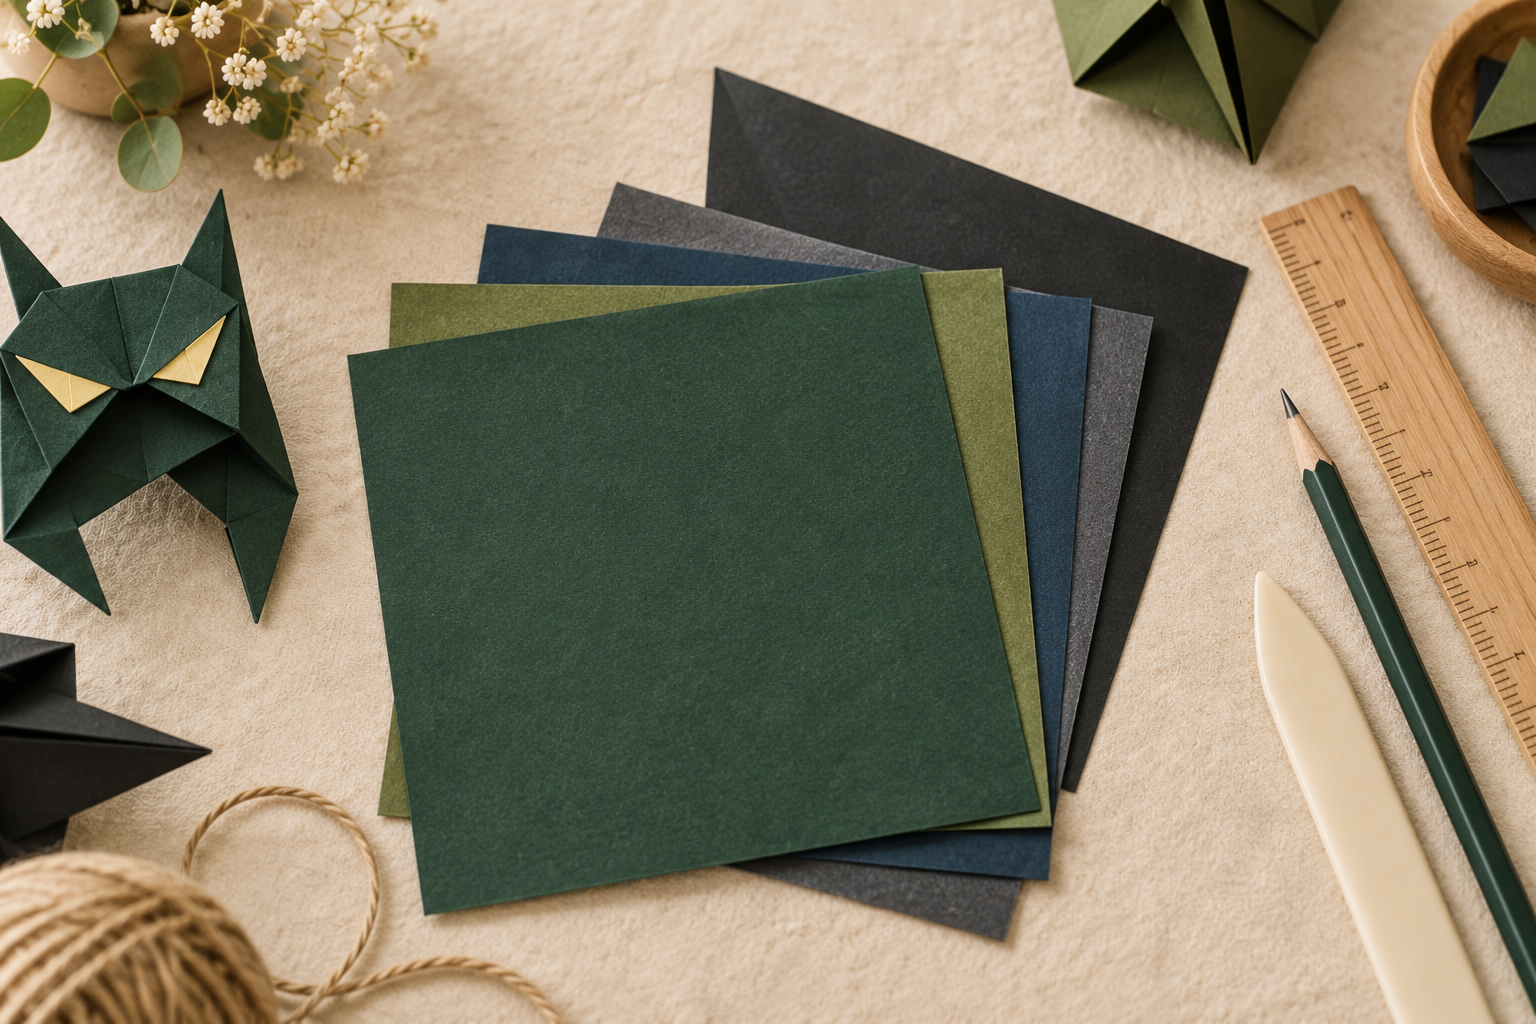
The basic version requires very little.
| Material | Recommended |
|---|---|
| Square paper | 20 × 20 cm |
| Pencil | Optional for marking |
| Ruler | Optional |
| Bone folder | Optional |
| Flat working surface | Recommended |
You can make the model entirely without glue or scissors.
Choosing the Right Paper
Paper choice can dramatically change the final result.
Standard Origami Paper
This is the easiest option for beginners.
It is:
- Thin
- Flexible
- Easy to fold
- Available in many colors
For a traditional monster look, try:
- Dark gray
- Black
- Forest green
- Dark blue
- Olive
- Charcoal
Dual-Colored Paper
Two-color paper can make the model especially interesting.
For example:
Dark green outside + lighter green inside
or
Black outside + red underside
The contrast becomes visible when you shape the head, belly and limbs.
Kraft Paper
Kraft paper gives the model a more natural, sculptural appearance.
It is particularly nice for larger display models.
Thin Printer Paper
Regular printer paper can work for practice, although it is less forgiving.
If you’re learning the folds for the first time, use inexpensive paper so you don’t worry about mistakes.
Choosing the Paper Size
The same folding structure can be scaled to different sizes.
| Starting Paper | Approximate Use |
|---|---|
| 10 × 10 cm | Miniature model |
| 15 × 15 cm | Small decorative model |
| 20 × 20 cm | Recommended |
| 25 × 25 cm | Easier for beginners |
| 30 × 30 cm | Large display model |
For your first attempt, 20 × 20 cm or 25 × 25 cm is ideal.
Larger paper makes small folds considerably easier to see.
Understanding the Model
Before starting, it helps to understand the basic structure.
The model can be divided into:
- Head
- Neck
- Body
- Tail
- Two legs
- Two arms
- Back plates
- Feet
- Head and jaw shaping
Think of the project as creating the silhouette first and adding character through shaping afterward.
Basic Origami Techniques
If you’re new to origami, learn these folds first.
Valley Fold
Fold the paper toward yourself so it forms a valley.
The fold usually resembles a V.
Mountain Fold
Fold the paper backward so the crease forms a raised ridge.
Inside Reverse Fold
Partially open a section and push it inward along an existing crease.
This is useful for shaping:
- Heads
- Tails
- Legs
- Necks
Outside Reverse Fold
The paper folds outward around a crease.
This is useful for creating pointed shapes and changing direction.
Petal-Like Fold
A section is opened and flattened into a new shape.
You won’t need an extremely complicated version of this technique for the simplified model.
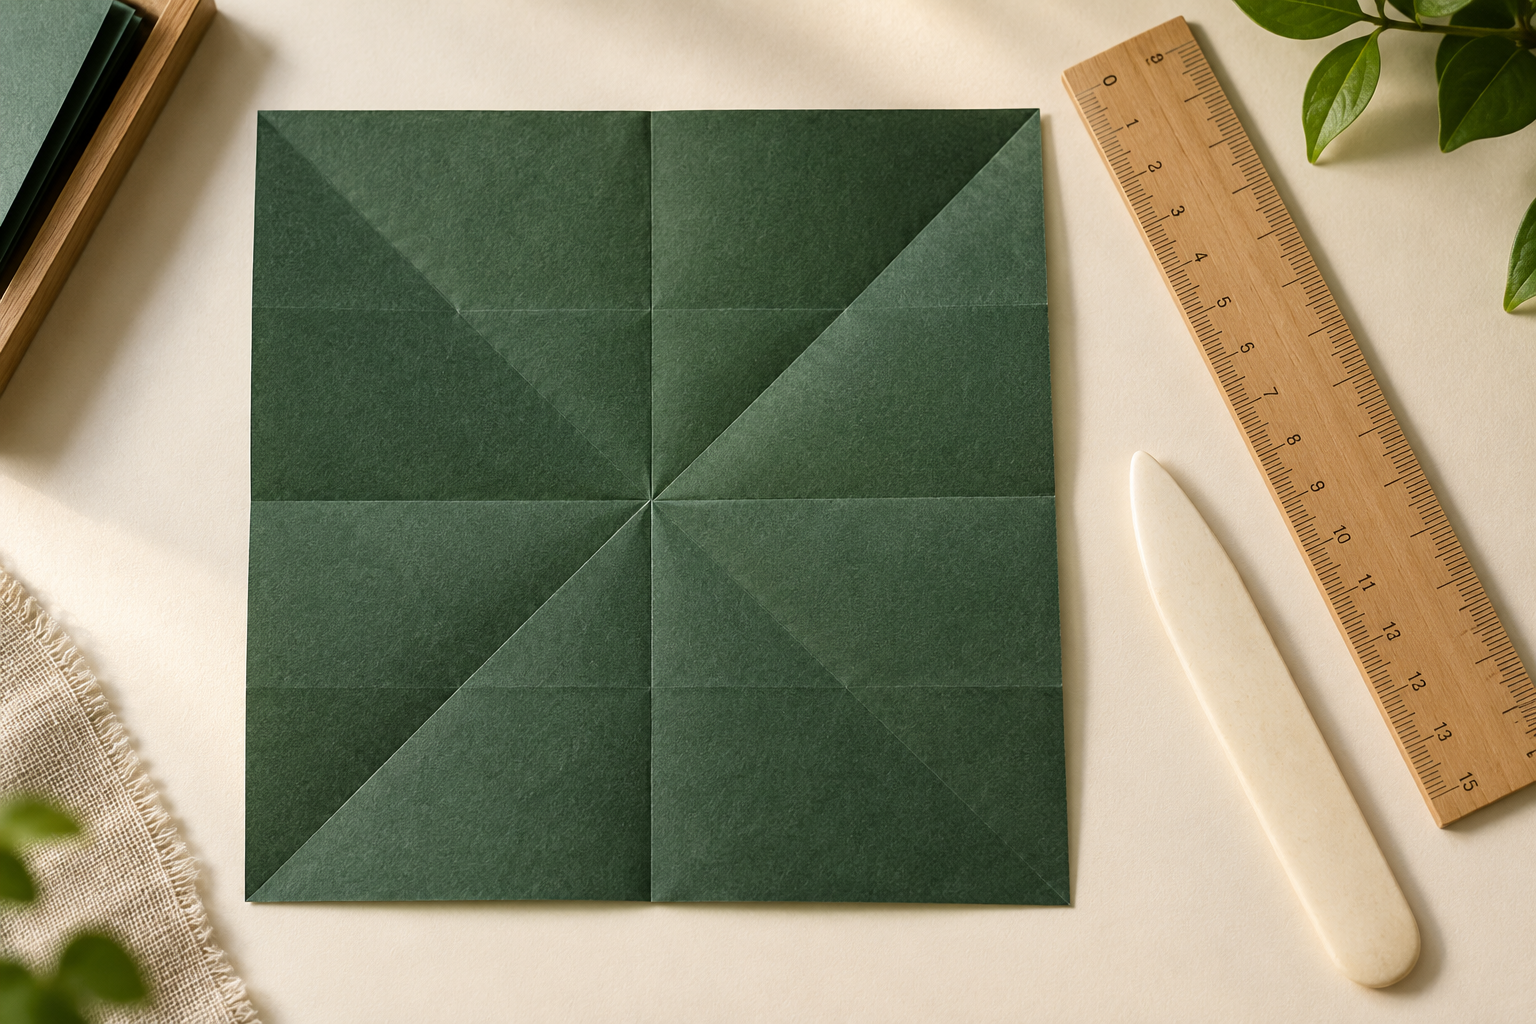
Step 1: Prepare the Square
Place your paper with the color you want for the outside facing downward if you’re using two-sided paper.
Fold the square diagonally from one corner to the opposite corner.
Open it.
Repeat with the other diagonal.
Open the paper again.
You should now have an X-shaped crease across the square.
These diagonal guidelines will help you position the body and tail.
Step 2: Create the Main Center Creases
Fold the square in half horizontally.
Crease firmly.
Open it.
Fold it vertically.
Crease again.
Open it.
Your paper should now contain:
- Two diagonal creases
- One horizontal crease
- One vertical crease
These reference lines divide the sheet into useful sections.
Step 3: Establish the Main Body
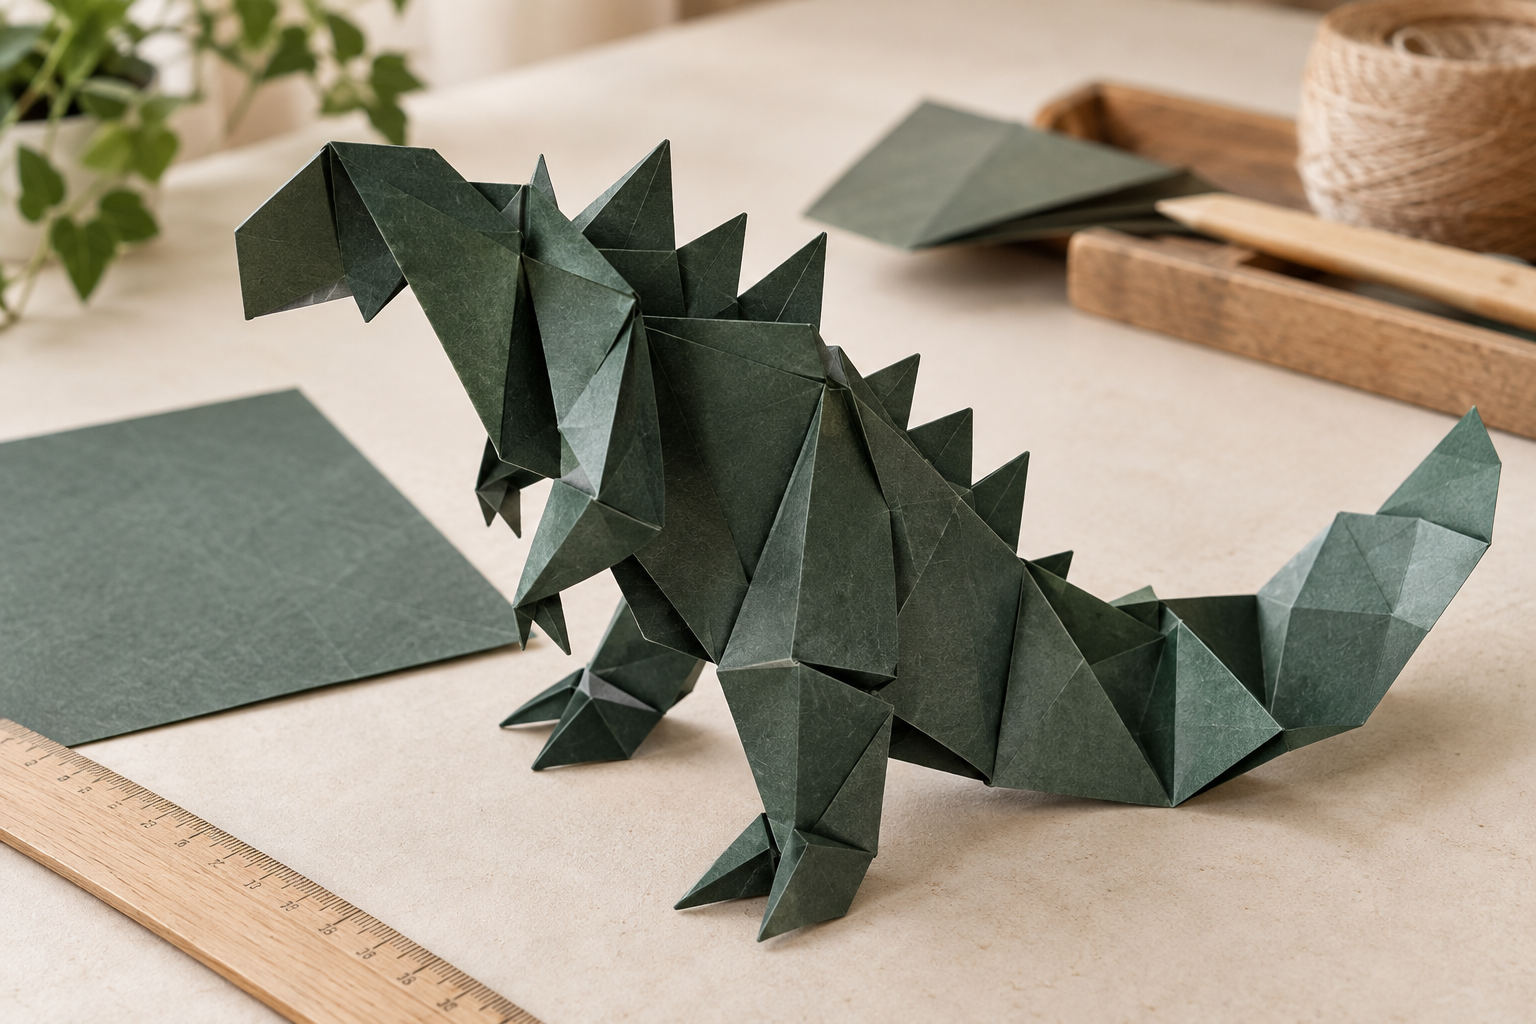
Bring the left and right sides toward the center while following the existing creases.
Don’t flatten every section completely.
The goal is to begin creating a long central body shape with narrower outer sections.
Press the center firmly.
You should now see the beginning of the main torso.
The body should be wider near the middle and narrower toward the ends.
Step 4: Identify the Head End and Tail End
Choose one narrow end to become the tail.
The opposite end becomes the head.
For a classic monster silhouette, the tail should be:
long and gradually tapered
while the head should be:
short, wide and slightly raised
This distinction is important.
Don’t make both ends identical.
Step 5: Form the Tail
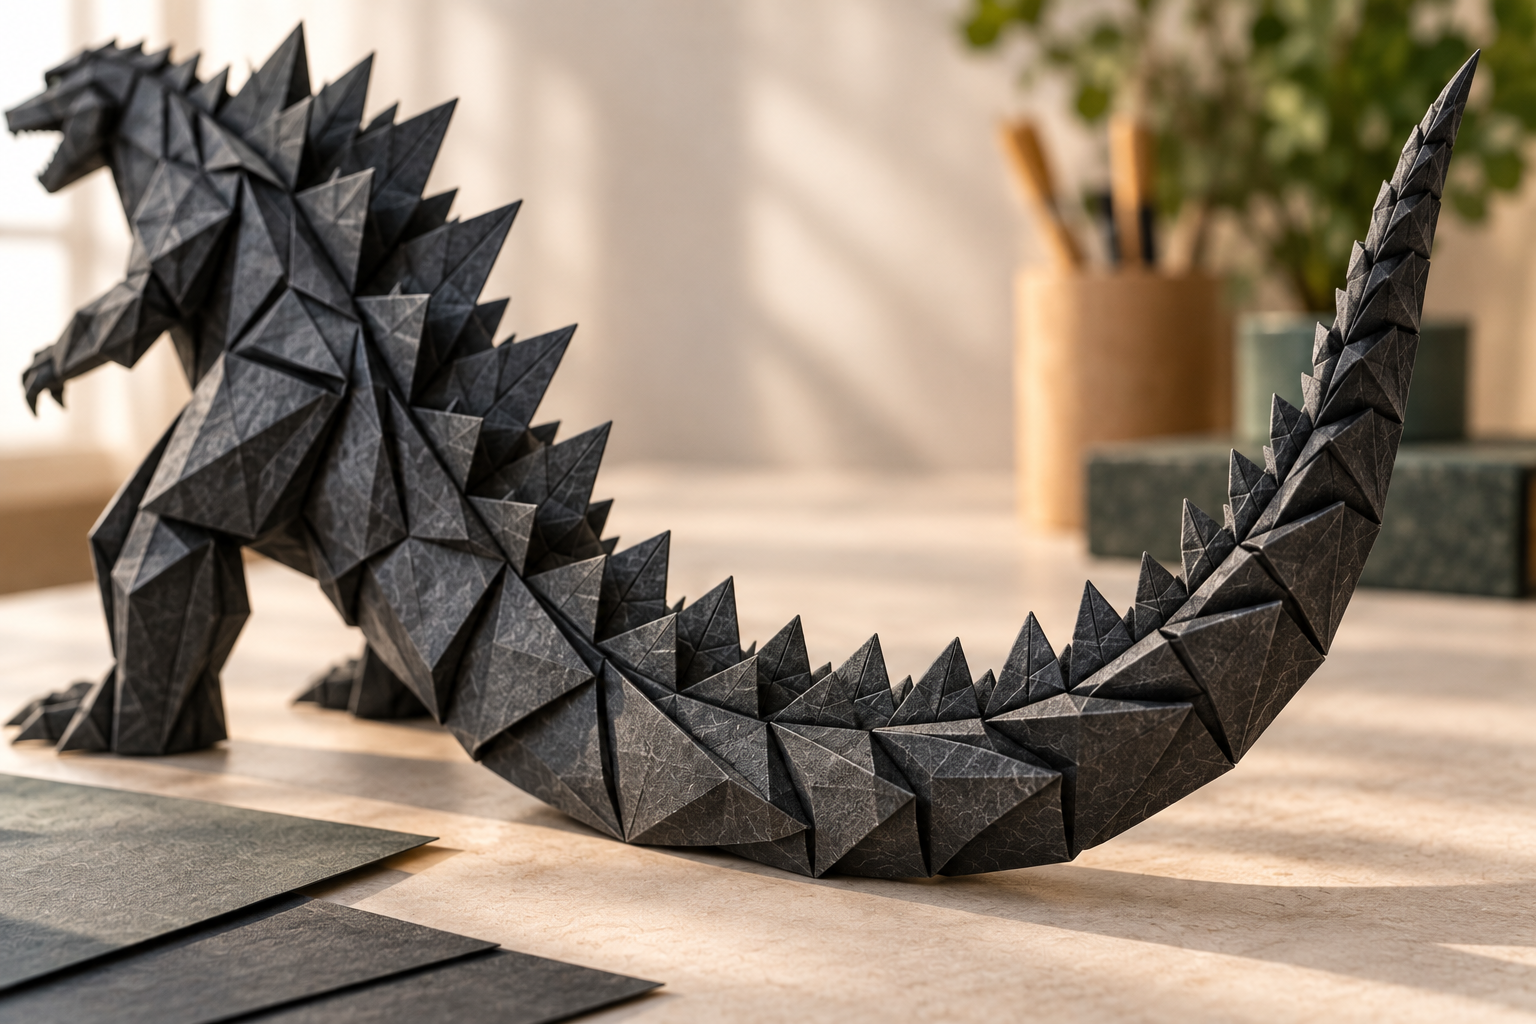
Take the section designated as the tail.
Fold it upward slightly.
Then create a diagonal crease near the tail base.
Perform a gentle reverse fold so that the tail changes direction.
Continue tapering toward the tip.
Tail shaping formula
Think:
wide base → narrower middle → pointed tip
The tail should not be folded into a completely straight line.
A slight curve makes the finished model look much more dynamic.
Creating a Curved Tail
Make two or three small directional folds along the tail.
For example:
left → center → slightly right
The changes don’t need to be perfectly symmetrical.
A slightly irregular tail can make the model look more organic.
Step 6: Shape the Body
Return to the central body section.
Gently fold the upper and lower edges inward.
The body should become thicker in the center.
Avoid crushing the model flat.
Instead, allow a small three-dimensional space to develop.
This is one of the most important differences between a flat paper figure and a convincing origami sculpture.
Step 7: Create the Neck
At the head end, identify a short section between the body and the future head.
Make a diagonal fold on both sides.
Gently raise this section.
The neck should sit slightly above the body.
A small raised neck gives the model a more powerful silhouette.
Step 8: Shape the Head
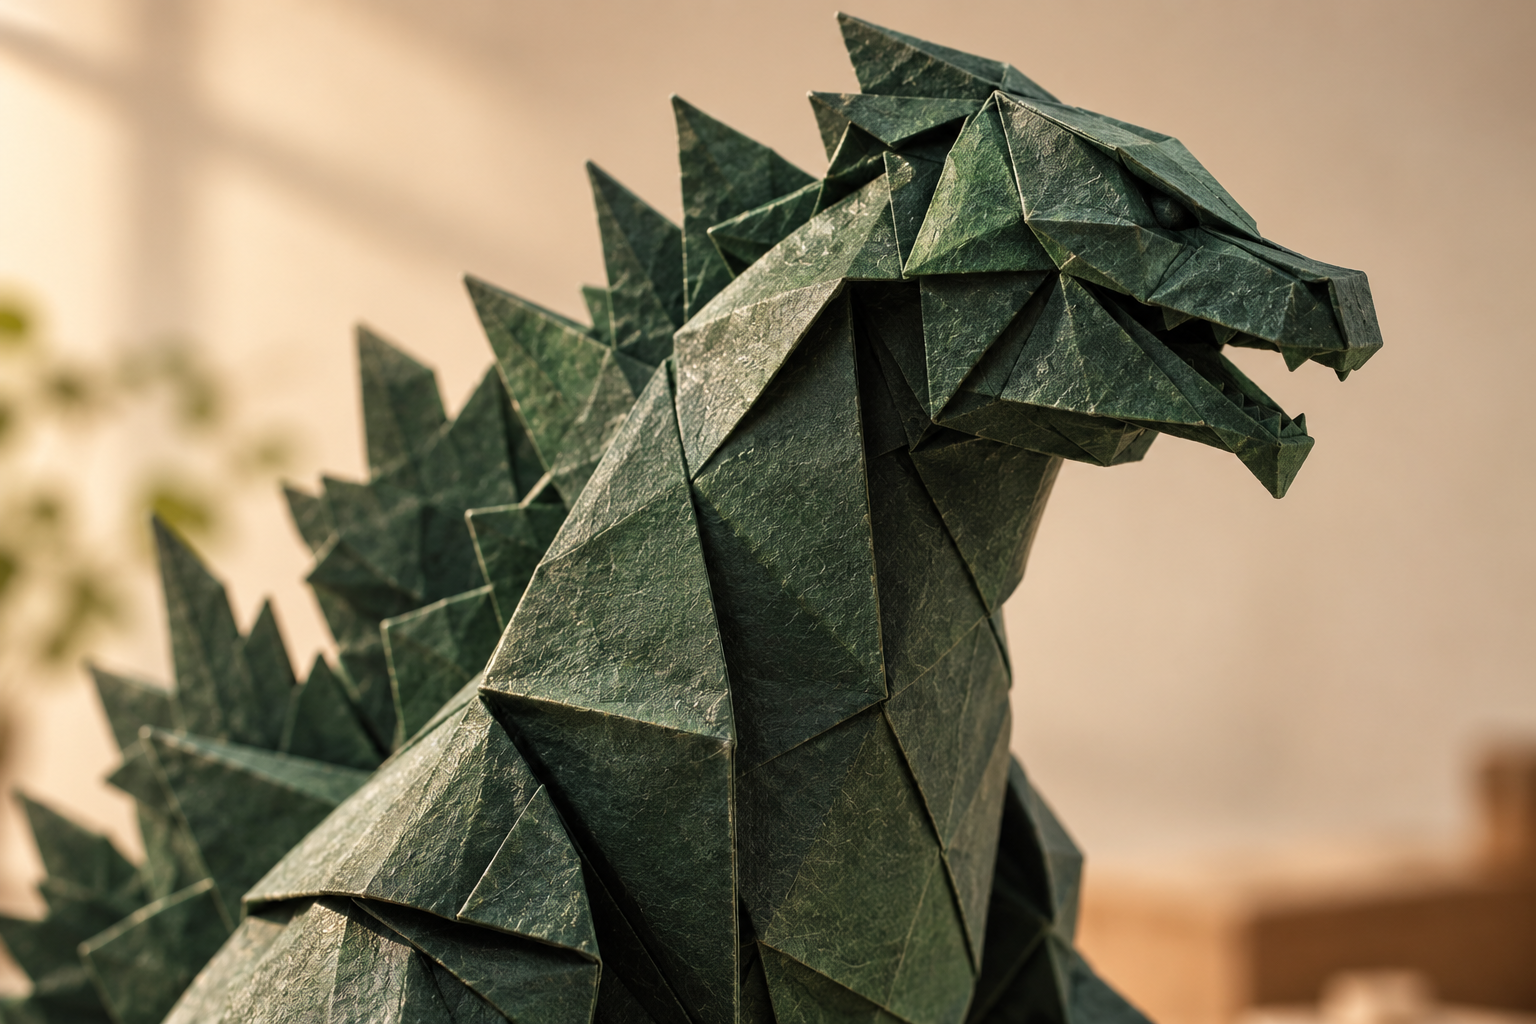
Fold the front section upward.
Create a broad triangular or slightly rectangular head shape.
Don’t make the head extremely pointed.
A monster-style head should have:
- Broad top
- Short snout
- Slightly open lower edge
- Raised neck
Use your fingers to gently curve the paper.
Step 9: Shape the Snout
At the front of the head, make a small fold downward.
Then reverse-fold the tip slightly upward.
This creates a subtle snout.
The exact proportions are flexible.
For a more dramatic monster:
make the snout longer.
For a cute version:
make the snout shorter and rounder.
Step 10: Create the Jaw
Separate the lower portion of the head from the upper section.
Make a shallow valley fold underneath the snout.
Open the fold slightly.
This gives the impression of a lower jaw.
You don’t need to create a large mouth.
A narrow dark opening can be enough to make the face recognizable.
Step 11: Shape the Head Crest
Create two small folds near the top/back of the head.
Fold them upward slightly.
These create subtle raised areas around the head.
Don’t make them too large.
The major visual interest should come from the back plates.
Step 12: Create the Front Legs
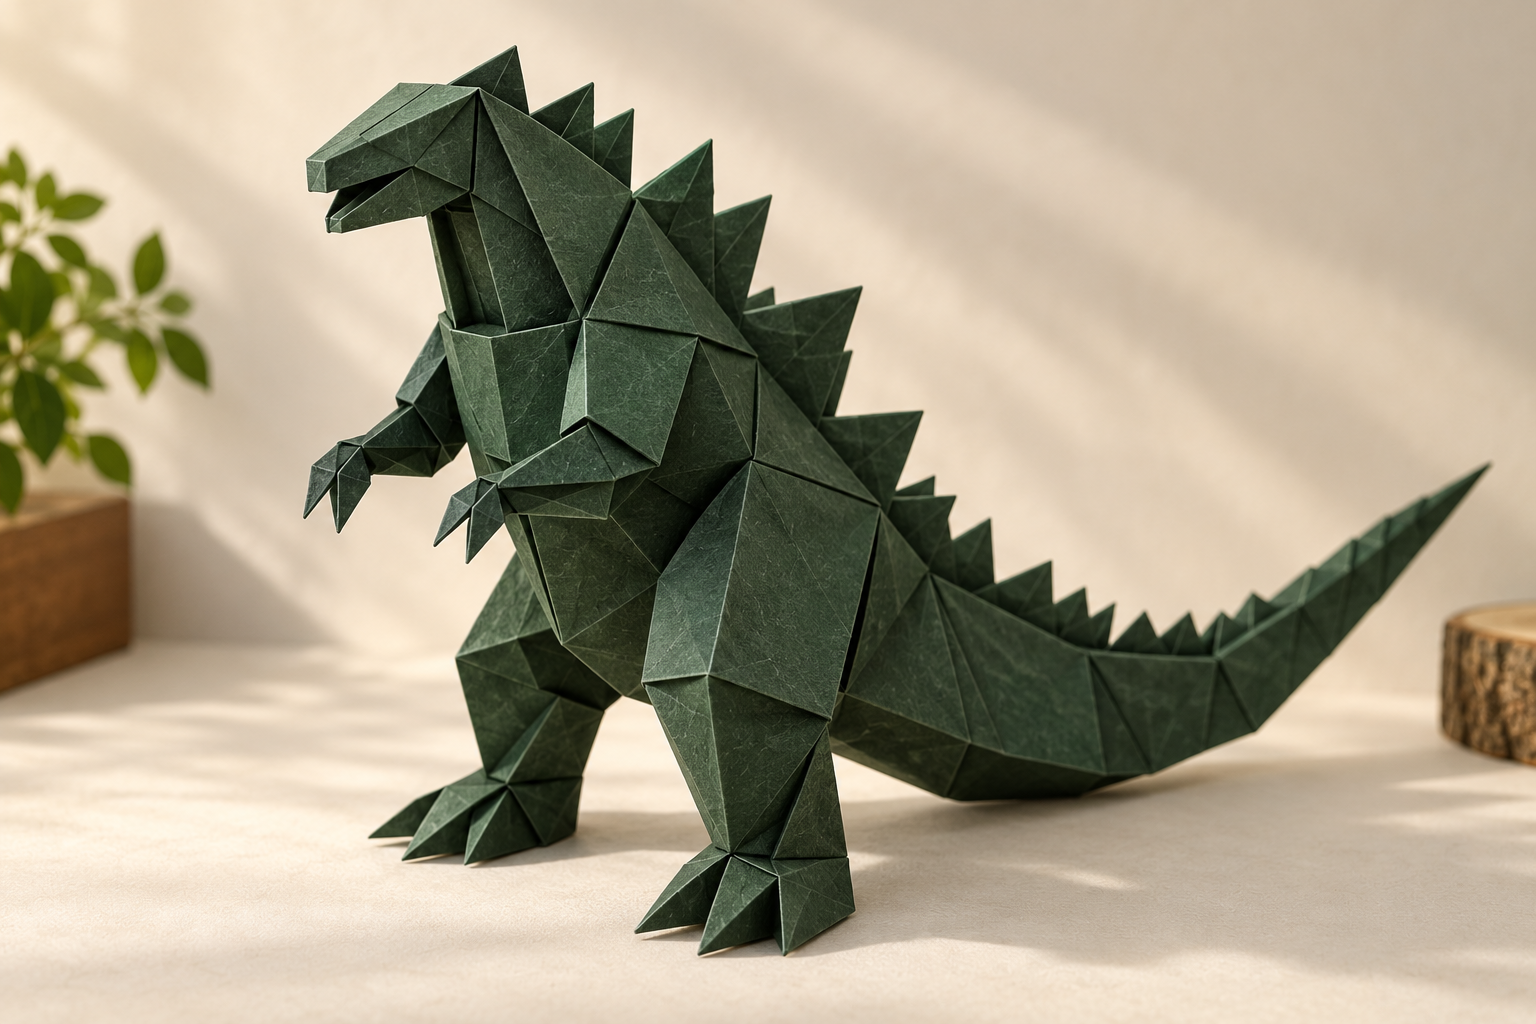
Locate the two lower side sections of the body.
These will become the legs.
Pull one section downward.
Make a reverse fold near the body.
Then fold the lower portion forward slightly.
Repeat on the opposite side.
The legs should have approximately the same length.
Leg Structure
Think of each leg as:
body → upper leg → lower leg → foot
Don’t try to create every anatomical detail.
The silhouette matters more.
Step 13: Shape the Feet
At the bottom of each leg, create a small outward fold.
Flatten the end slightly.
Then make a tiny pointed fold at the front.
This produces a simple claw-like foot.
For a stronger monster appearance, make the toes point slightly forward.
Step 14: Create the Arms
The arms should be smaller than the legs.
Locate the side sections around the upper body.
Pull one section outward.
Create a small reverse fold.
Then angle the lower portion slightly downward.
Repeat on the other side.
The arms can be positioned in different ways.
Relaxed Pose
Arms pointing downward.
Aggressive Pose
Arms angled forward.
Roaring Pose
Arms slightly raised.
For photography, a slightly forward position usually gives the model more character.
Step 15: Shape the Hands
You don’t need individually folded fingers for this beginner version.
Instead, taper the end of each arm.
Make one small diagonal fold.
This creates a pointed hand/claw silhouette.
If you want more detail, you can make two tiny additional folds at the tip.
Be careful because very small folds can weaken thin paper.
Step 16: Create the Back Plates
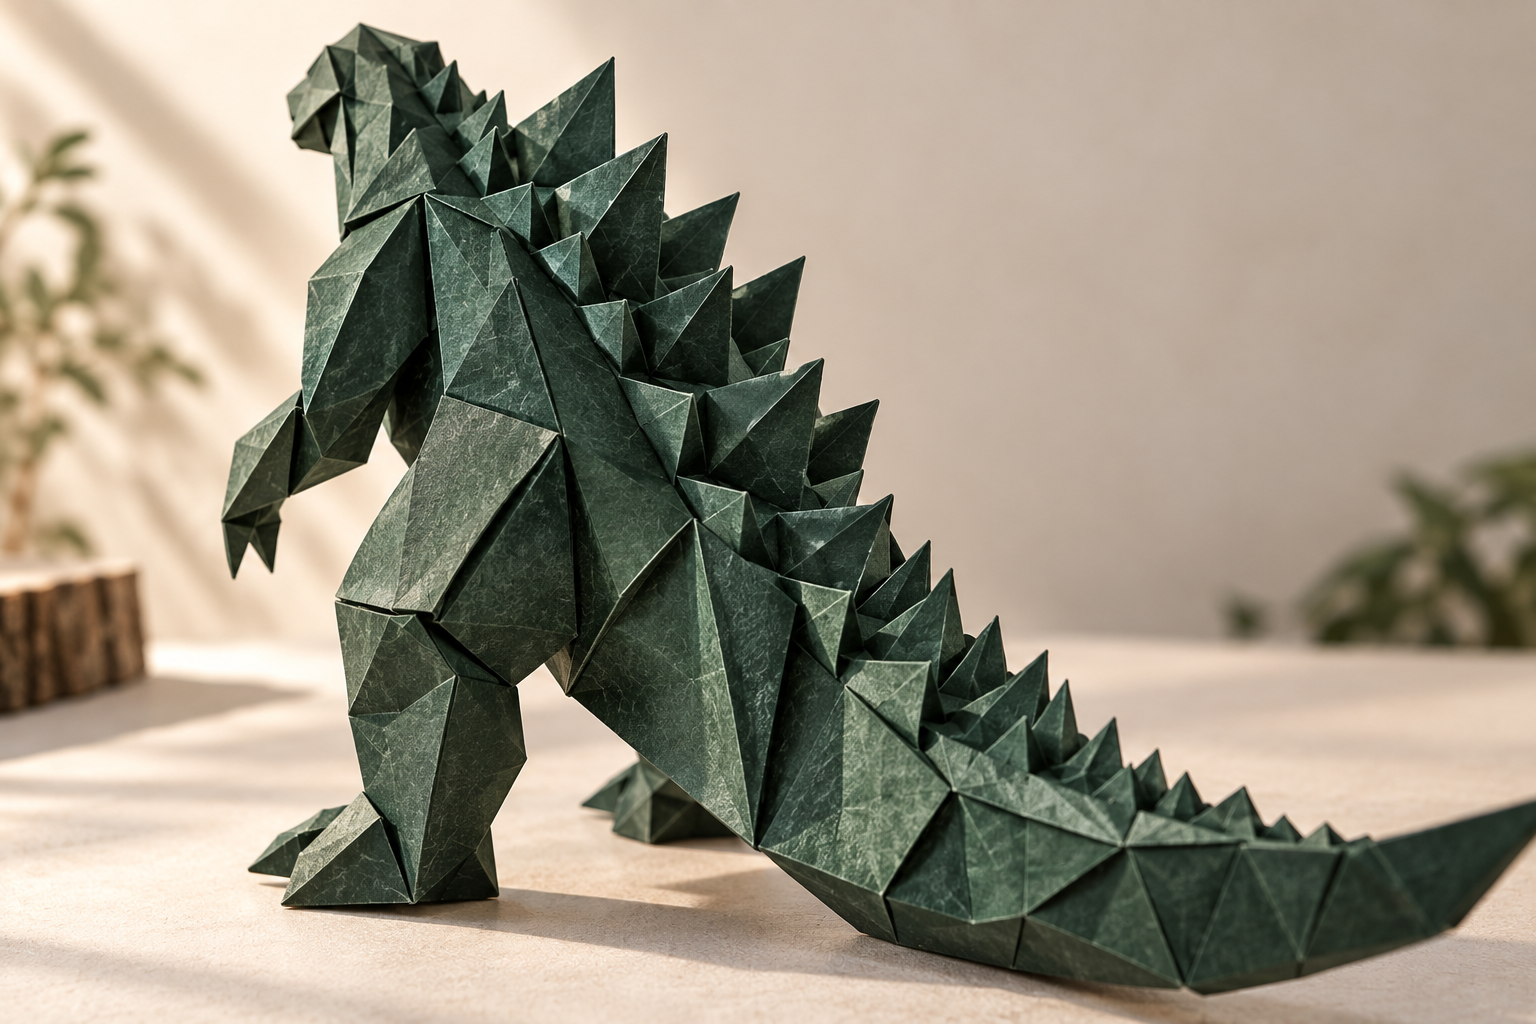
This is the most recognizable decorative feature.
Look at the long upper section running from the neck toward the tail.
You want to create a series of triangular spikes.
Start near the neck.
Create a small triangular fold upward.
Move slightly backward.
Create another.
Continue toward the tail.
Recommended Spike Pattern
Use approximately:
3 large plates near the shoulders
3–4 medium plates along the back
3–5 smaller plates toward the tail
The plates should gradually decrease in size.
This creates a natural visual progression.
Step 17: Make the Back Plates More Dramatic
Instead of folding every plate straight upward, angle them slightly.
For example:
- First spike: slightly backward
- Second: upright
- Third: slightly backward
- Fourth: upright
- Tail spikes: smaller and sharper
This creates a more dynamic silhouette.
Step 18: Strengthen the Back
After shaping the spikes, reinforce the main back ridge with your fingernail or bone folder.
Be careful not to flatten the raised plates.
The goal is:
strong central crease + raised triangular plates
Step 19: Create a Standing Pose
Place the model on a flat surface.
Check the feet.
If it falls forward, gently move the hips backward.
If it falls backward, bring the chest slightly forward.
You can also slightly widen the feet.
This gives the model a more stable stance.
Step 20: Final Body Shaping
Now stop folding and start sculpting.
This stage is extremely important.
Use your fingertips to gently shape:
- Chest
- Belly
- Neck
- Head
- Tail
- Legs
- Arms
Origami isn’t always about creating another crease.
Sometimes the final result comes from careful three-dimensional shaping.
Step 21: Shape the Tail for Movement
Lift the tail slightly from the surface.
Curve it gently to one side.
You can create a dramatic:
S-shaped tail
or a simpler:
slightly curved tail
The S-shaped version looks especially good when photographed from a low angle.
Step 22: Final Head Adjustment
Raise the head slightly.
Tilt it upward.
Then open the jaw just enough to create a small mouth gap.
This produces a more dramatic monster pose.
For a roaring effect, angle the head approximately:
10–20° upward
rather than making it completely vertical.
Step 23: Final Leg Adjustment
Make sure both feet touch the table.
If one foot is floating, adjust the lower-leg crease.
Small changes here can make a huge difference in stability.
Step 24: Final Arm Adjustment
Try several positions.
Classic
Arms downward.
Action Pose
One arm forward and one slightly backward.
Roaring Pose
Both arms slightly raised.
The model becomes much more interesting when the limbs aren’t perfectly symmetrical.
Simple Origami Godzilla Pattern Summary
For quick reference, the construction can be remembered as:
Square → Creases → Body → Tail → Neck → Head → Legs → Feet → Arms → Back Plates → Sculpting
The model doesn’t require glue when the folds are crisp and the paper has appropriate thickness.
Three Pose Variations
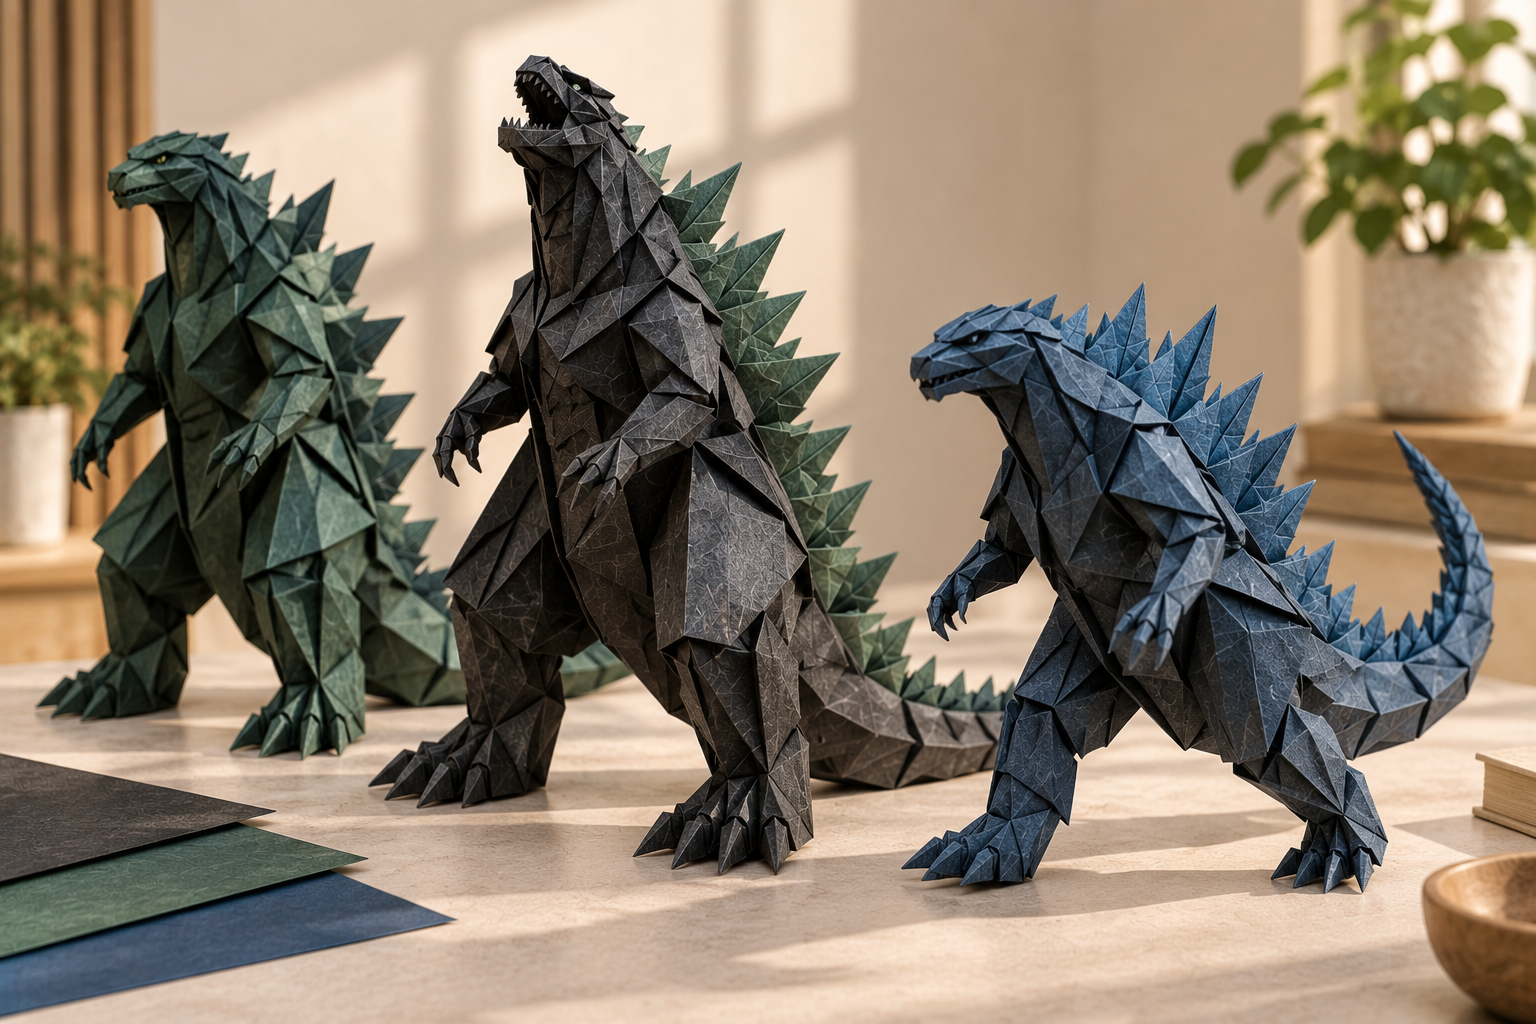
Once you understand the basic structure, experiment with different poses.
Pose 1: Standing
- Head slightly raised
- Tail behind body
- Feet spread slightly
- Arms downward
This is the easiest display pose.
Pose 2: Roaring
- Head raised
- Jaw slightly open
- Arms forward
- Tail curved
- Chest raised
This creates a dramatic silhouette.
Pose 3: Walking
- One leg forward
- One leg backward
- Opposite arm positions
- Tail curved to one side
This is more challenging but makes a great photograph.
Mini Origami Godzilla
You can create a miniature version using:
10 × 10 cm paper
However, small paper makes the tiny folds significantly more difficult.
For mini models:
- Use thin paper
- Make fewer back plates
- Avoid extremely small claw folds
- Use a blunt tool for precise creases
- Shape rather than over-fold
Large Origami Godzilla
For a larger display model, try:
30 × 30 cm paper
Large paper makes:
- Head shaping easier
- Legs easier to manipulate
- Back plates more dramatic
- Tail more visible
For large models, slightly heavier paper can help the finished sculpture maintain its shape.
Easy Godzilla-Inspired Color Ideas
| Style | Main Paper | Detail |
|---|---|---|
| Classic Monster | Dark green | Black |
| Shadow Monster | Black | Dark gray |
| Forest Creature | Olive | Brown |
| Ocean Monster | Deep blue | Light blue |
| Lava Monster | Black | Red |
| Ice Monster | White | Pale blue |
| Cute Version | Pastel green | Pink |
| Metallic | Gray | Silver |
| Halloween | Black | Orange |
| Minimalist | Charcoal | Cream |
Two-Sided Paper Ideas
Two-sided paper can produce especially interesting results.
Try:
Dark green outside + light green inside
The lighter color can naturally appear on the belly and inside the mouth.
Another option is:
Black outside + red inside
This creates a dramatic mouth and belly contrast.
How to Make the Model Look More Realistic
The most important factor isn’t the number of folds.
It’s the silhouette.
Focus on creating:
- Long tail
- Raised neck
- Broad head
- Thick body
- Short powerful legs
- Small arms
- Large back plates
Then use gentle shaping to add volume.
Common Origami Problems
| Problem | Cause | Solution |
|---|---|---|
| Tail is too short | Too much paper used for body | Preserve more length at tail end |
| Head looks flat | Too many hard creases | Gently open and sculpt head |
| Model falls forward | Head too heavy | Move hips backward |
| Model falls backward | Tail/hips too heavy | Move chest forward |
| Legs look uneven | Different fold positions | Compare both sides before tightening |
| Spikes look identical | Same-size folds | Gradually reduce spike size |
| Paper tears | Creases too tight | Use lighter pressure |
| Model looks too flat | Not enough shaping | Sculpt body after folding |
| Head is too small | Too much paper allocated to neck | Shorten neck section |
| Tail won’t hold shape | Paper too thin | Use slightly heavier paper |
| Tiny folds are difficult | Paper too small | Start with 20–25 cm paper |
Tips for Sharp Origami Folds
Good creases make the entire model look more professional.
Use a Flat Surface
Avoid folding on a soft bed or couch.
A table is much better.
Align Before Creasing
Don’t immediately press down.
First align the edges.
Then crease.
Use Your Fingernail Carefully
For important creases, gently run your fingernail along the fold.
Don’t press so hard that the paper becomes damaged.
Don’t Over-Crease
Some parts need to remain soft and sculptural.
The head, belly and tail often benefit from gentle shaping rather than extremely hard creases.
Beginner Mistakes to Avoid
Folding Too Quickly
Origami rewards accuracy more than speed.
Spend extra time aligning each fold.
Starting With Very Small Paper
Small paper makes learning difficult.
Start with 25 × 25 cm if you’re completely new.
Using Thick Cardstock
Cardstock can be difficult to reverse-fold.
Start with standard origami paper.
Flattening Everything
The model needs volume.
Once the basic creases are established, begin shaping the sculpture rather than continually flattening it.
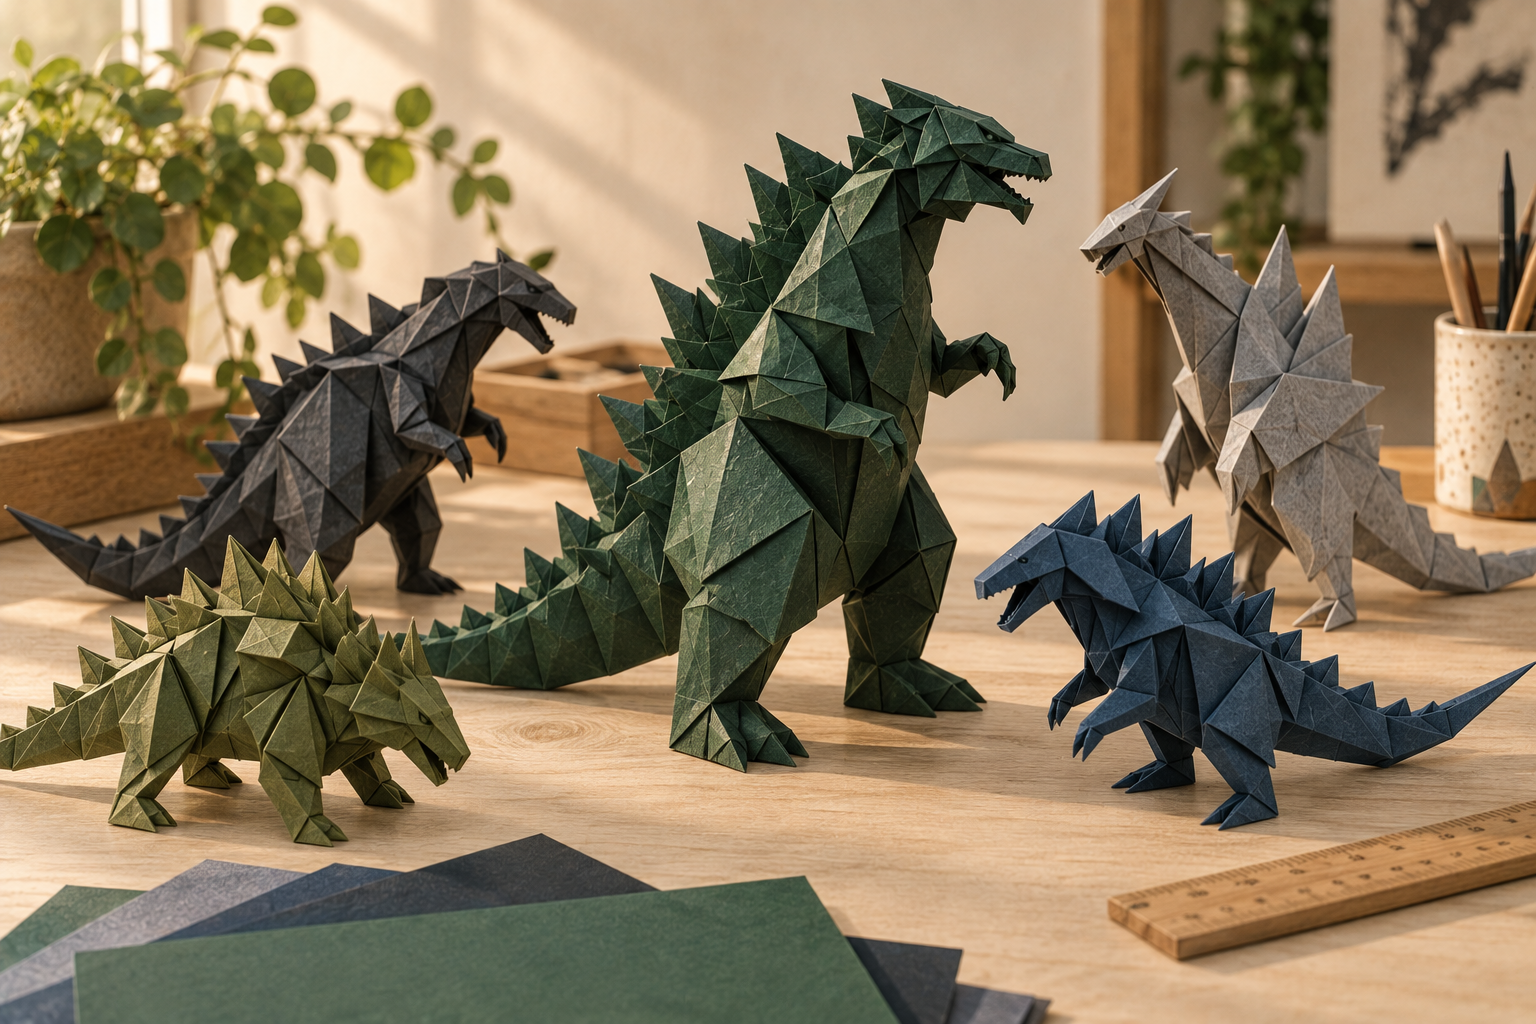
How to Make a Family of Paper Monsters
Once you understand the basic pattern, make several versions.
Try changing:
- Head size
- Tail length
- Back spikes
- Leg length
- Arm position
- Paper color
- Body proportions
You can create a whole collection with different personalities.
| Character Style | Change |
|---|---|
| Baby Monster | Large head + short body |
| Classic Monster | Balanced proportions |
| Tall Monster | Longer legs |
| Sea Monster | Long tail |
| Tiny Monster | Small body + oversized head |
| Fierce Monster | Large back plates |
| Friendly Monster | Rounded head + short snout |
Simple Paper Monster Pattern Variations
The same construction can also become other creatures.
Dinosaur
Make the tail longer and reduce the back plates.
Dragon
Make the head longer and add larger wings.
Crocodile
Flatten the body and lengthen the snout.
Lizard
Make the legs longer and body narrower.
Fantasy Monster
Experiment with asymmetric horns, spikes and tails.
This is where origami becomes particularly fun because one basic structure can inspire many completely different creatures.
Optional Paper Details
If you’re making the project as a general paper craft rather than strict traditional origami, you can add small details afterward.
For example:
- Paper eyes
- Tiny paper teeth
- Colored pencil shading
- Metallic highlights
However, for a pure origami version, keep the model entirely folded from the original sheet.
Should You Use Glue?
For the basic model:
No glue is necessary.
Avoid glue during your first attempts because it can hide structural problems.
If you’re making a permanent display sculpture and want certain details to stay fixed, a tiny amount of craft adhesive can be used as a finishing option, but this changes it from a strictly no-glue origami model.
How to Display Your Origami Godzilla
A finished paper monster can become a fun decoration.
Try displaying it:
- On a bookshelf
- Beside manga or art books
- On a desk
- In a craft room
- In a children’s creative space
- On a photography background
- With other origami animals
For a dramatic display, place it on a dark surface and use directional light from one side.
The raised back plates will cast interesting shadows.
Photography Tips
If you’re creating images for a blog or Pinterest, photograph the model from several angles.
Front View
Shows:
- Head
- Arms
- Chest
- Feet
Side View
Best for:
- Tail
- Neck
- Body silhouette
Three-Quarter View
Usually the most visually interesting because it shows:
- Head
- Body
- Tail
- Back plates
- Legs
Low Angle
Place the camera slightly below the model.
This makes the paper monster appear larger and more dramatic.
Origami Godzilla for Kids
The simplified construction can make a fun supervised paper-craft activity.
For younger children, you can simplify the project by:
- Using larger paper
- Reducing the number of back plates
- Skipping tiny claw details
- Pre-creasing difficult sections
- Allowing children to decorate the finished model
Younger children may find the shaping stage more enjoyable than following every precise fold.
Classroom or Craft Activity
This project can also work as part of a broader paper-craft lesson.
Students can explore:
- Symmetry
- Geometry
- Angles
- Paper engineering
- Three-dimensional shapes
- Sculpture
- Japanese paper-folding traditions
You can have students make the same basic model using different paper sizes and compare how the final proportions change.
Origami Godzilla Difficulty Levels
| Version | Difficulty | Best For |
|---|---|---|
| Simplified | Beginner–Intermediate | First attempt |
| Small | Intermediate | Experienced folders |
| Large | Beginner–Intermediate | Learning folds |
| Detailed | Intermediate–Advanced | Experienced folders |
| Posed | Intermediate | Display models |
Start with the simplified version before attempting extremely detailed versions.
Frequently Asked Questions
Is this an official Godzilla origami pattern?
No. This is an original simplified Godzilla-inspired paper-folding tutorial created for this article. Godzilla is a copyrighted fictional character and this tutorial should not be presented as an official licensed pattern.
Can beginners make this origami Godzilla?
Yes, although complete beginners may find some reverse folds and three-dimensional shaping challenging. Starting with larger paper makes the process much easier.
What size paper should I use?
A 20 × 20 cm square is a good starting size. If you’re new to origami, 25 × 25 cm gives you more room to work.
Can I use regular printer paper?
Yes. Printer paper works for practice, although standard origami paper usually produces cleaner folds.
Do I need glue?
No. The basic design is intended to be assembled without glue.
Do I need scissors?
No. The basic model uses a square sheet without cutting.
What color should I use?
Dark green, gray, black, dark blue and olive are good choices for a classic monster aesthetic. You can also experiment with completely different colors.
How can I make the model bigger?
Start with a larger square sheet. For example, moving from 20 × 20 cm to 30 × 30 cm creates a much larger display piece.
Why won’t my model stand?
Check the feet first. They need to touch the surface evenly. You may also need to shift the hips slightly backward or bring the chest forward.
Why does my tail look too short?
The tail needs enough paper reserved at the beginning of the construction. If you’re making another model, preserve more of the long narrow section for the tail.
How can I make bigger back spikes?
Use larger triangular folds along the back and reduce the number of smaller spikes.
Can I create other monsters from this pattern?
Yes. Once you understand the body structure, experiment with the head, tail, limbs and back plates to create original dinosaur and fantasy-monster variations.
Quick Reference
Paper
20 × 20 cm square
Main Construction
Creases → body → tail → neck → head → legs → arms → back plates
Tail
Long and tapered.
Head
Broad and slightly raised.
Legs
Short, strong and slightly spread.
Arms
Smaller and positioned forward or downward.
Back
Large plates near the neck, gradually becoming smaller toward the tail.
Final Step
Shape the model gently rather than adding unnecessary extra creases.
Final Tips for a Better Result
Your first model may not look perfect, and that’s completely normal.
For the second attempt, pay particular attention to:
- Paper size — larger paper makes everything easier.
- Crease accuracy — alignment matters more than speed.
- Tail length — preserve enough paper for a dramatic tail.
- Head proportions — don’t make the neck too long.
- Back plates — vary their size for a natural silhouette.
- Leg symmetry — compare both sides before tightening folds.
- Three-dimensional shaping — don’t flatten the finished model.
- Pose — small changes to the head and tail can completely transform the appearance.
The beauty of this project is that you don’t have to make every model identical. Once you’ve mastered the basic construction, you can experiment with proportions, colors, poses and paper sizes to create your own collection of paper monsters.
Final Thoughts
This easy origami Godzilla-inspired model is a great example of how a single square sheet of paper can be transformed into a recognizable three-dimensional creature.
The key isn’t simply following folds mechanically. The most important stage comes at the end, when you shape the head, curve the tail, position the legs and raise the back plates. Those small adjustments are what turn a flat folded structure into a characterful paper sculpture.
If this is your first attempt, start with 25 × 25 cm lightweight origami paper and focus on learning the basic structure. Once you’re comfortable with the folds, try a smaller model, a larger display version or your own original monster variation.
And if you’re creating this for a craft blog, photography project or Pinterest content, make several versions in different colors and poses. A collection of three or four paper monsters can be much more visually compelling than a single finished model.