
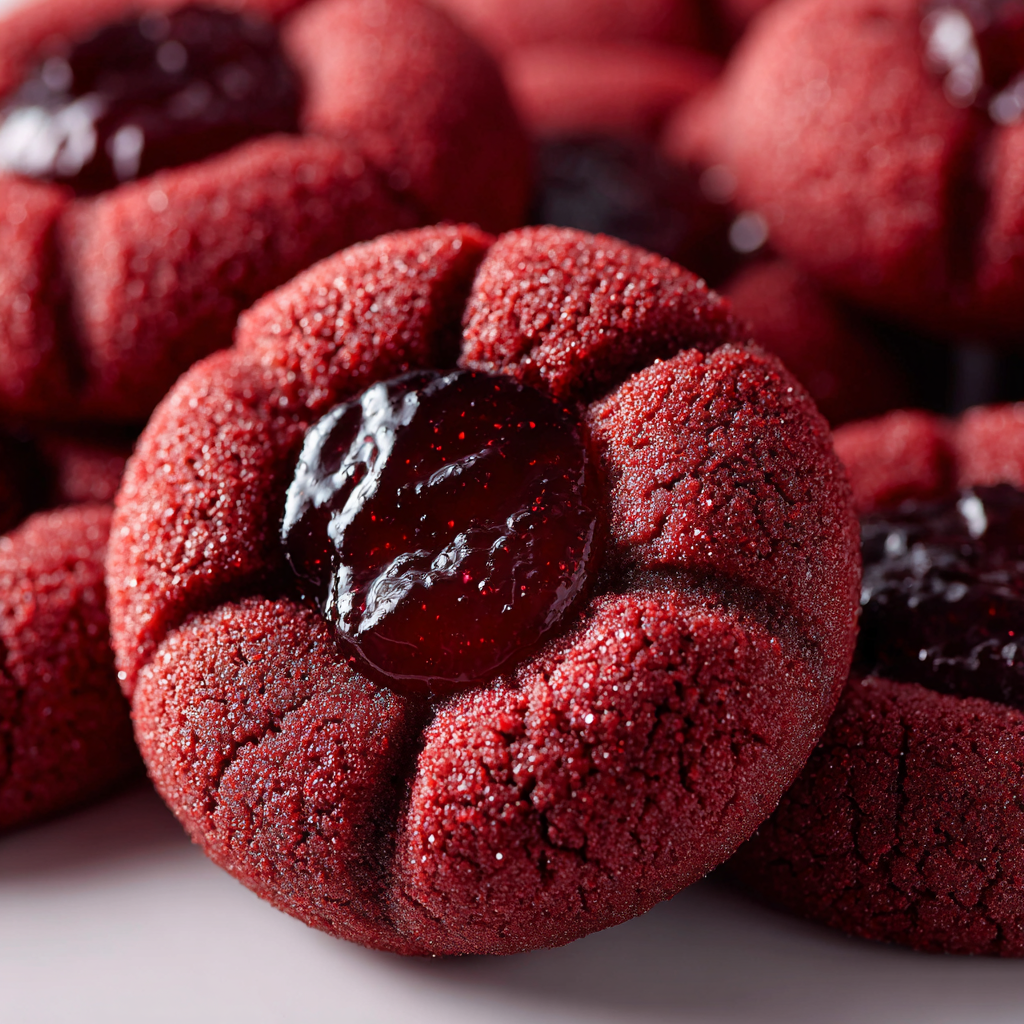
Why These Red Velvet Thumbprint Cookies Are Irresistible
If you love the classic flavor of red velvet, these red velvet thumbprint cookies take it to the next level. They’re soft and tender with a deep cocoa flavor, a hint of vanilla, and a gorgeous red color—finished with a creamy filling that melts in your mouth.
Why you’ll fall in love with this recipe:
- Rich red velvet flavor in cookie form
- Soft, melt-in-your-mouth texture
- Elegant look with minimal effort
- Perfect for Valentine’s Day, holidays, or gifting
- Easy, beginner-friendly recipe
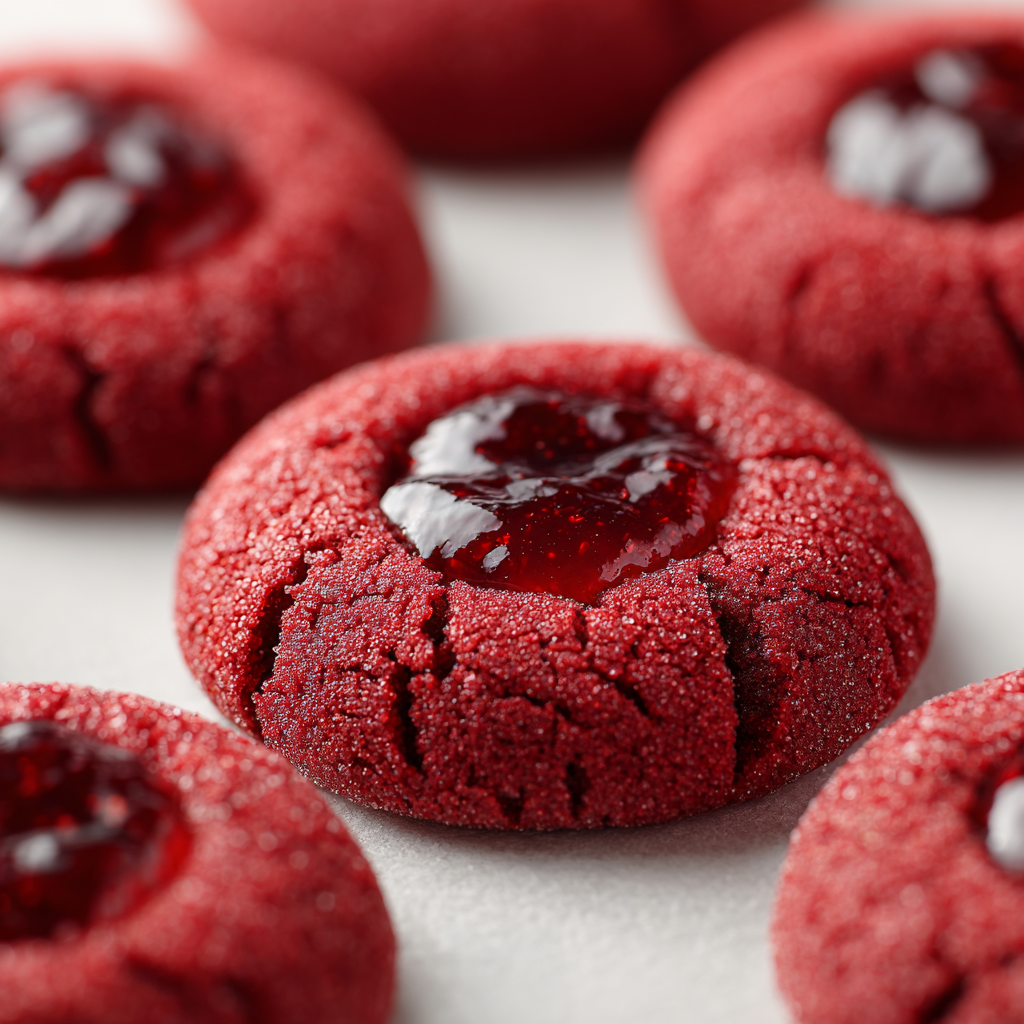
These cookies look bakery-fancy but are surprisingly simple to make at home.
Ingredients for Red Velvet Thumbprint Cookies
Dry Ingredients
- 2 cups all-purpose flour
- 2 tablespoons unsweetened cocoa powder
- ½ teaspoon baking powder
- ¼ teaspoon salt
Wet Ingredients
- ¾ cup granulated sugar
- ½ cup unsalted butter, softened
- 1 large egg (room temperature)
- 1 teaspoon vanilla extract
- 1 tablespoon milk
Color & Flavor
- 1 tablespoon red food coloring (gel preferred)
Filling Options (Choose One)
- Cream cheese frosting
- White chocolate ganache
- Strawberry or raspberry jam
Equipment You’ll Need
- Mixing bowls
- Hand or stand mixer
- Baking sheet
- Parchment paper
- Teaspoon or thumb (for indent)
- Cooling rack
Step-by-Step: How to Make Red Velvet Thumbprint Cookies
1. Preheat and Prepare
- Preheat oven to 350°F (175°C)
- Line baking sheets with parchment paper
2. Mix the Dry Ingredients
In a bowl, whisk together:
- Flour
- Cocoa powder
- Baking powder
- Salt
Set aside.
3. Cream Butter and Sugar
- Beat butter and sugar until light and fluffy (2–3 minutes)
- This step ensures soft red velvet cookies
4. Add Wet Ingredients
- Mix in egg until fully combined
- Add vanilla extract, milk, and red food coloring
- Mix until smooth and evenly colored
5. Combine Wet and Dry
- Gradually add dry ingredients to wet
- Mix just until a soft dough forms
- Do not overmix
6. Shape the Cookies
- Scoop 1½ tablespoon portions
- Roll into smooth balls
- Place on baking sheet, spacing evenly
7. Make the Thumbprints
- Gently press your thumb or a teaspoon into the center
- Create a shallow well (don’t press all the way through)
8. Bake
- Bake 10–12 minutes
- Cookies should be set but still soft
- If centers puff up, gently press again while warm
9. Cool and Fill
- Cool cookies completely
- Fill centers with your chosen filling
Pro Tips for Perfect Red Velvet Thumbprint Cookies
- Use gel food coloring for vibrant color
- Chill dough 15 minutes if too soft
- Slight underbaking keeps cookies tender
- Fill cookies after baking for clean centers
Delicious Filling Ideas ❤️
🧁 Classic Cream Cheese
- Creamy, tangy, and traditional
🍫 White Chocolate Ganache
- Elegant and smooth
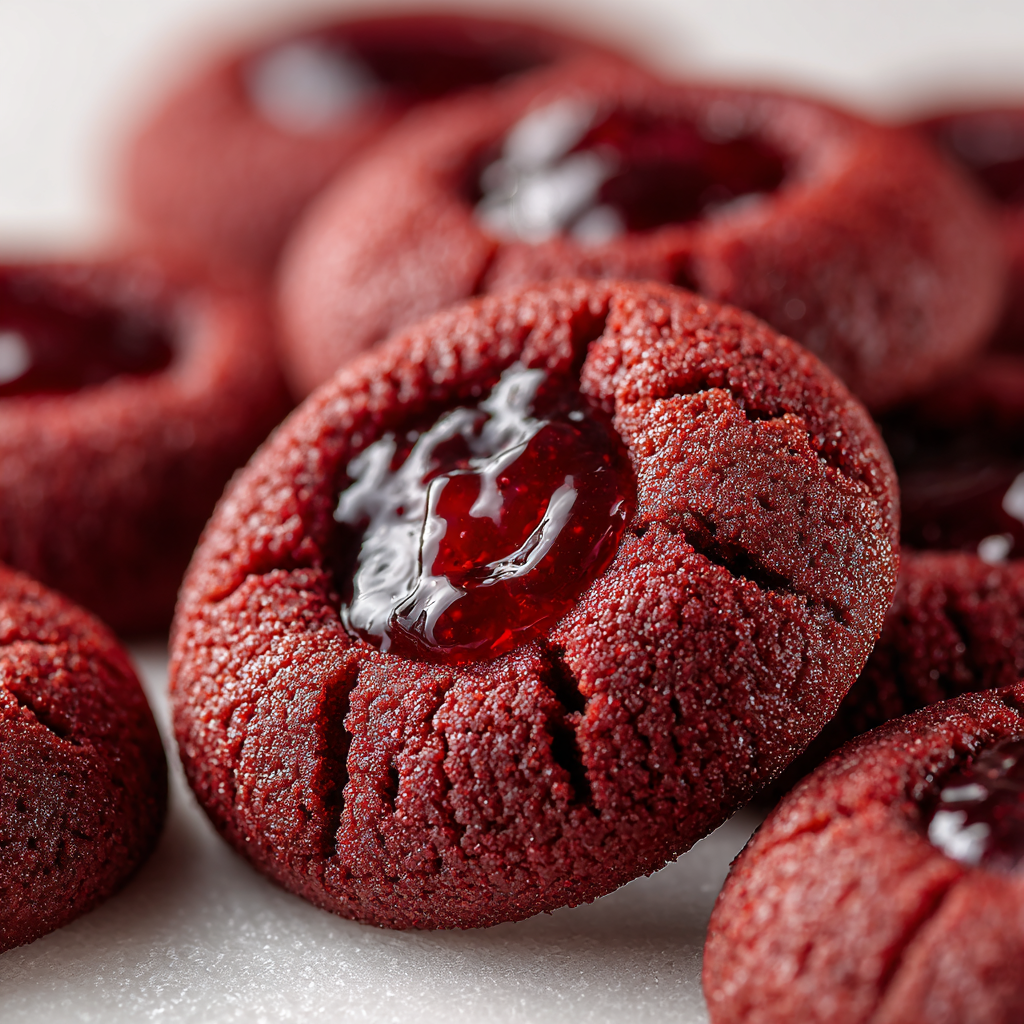
🍓 Berry Jam
- Bright contrast to rich red velvet
Storage & Make-Ahead Tips
Storage
- Airtight container at room temperature: 3 days
- Refrigerated (cream cheese filling): 5 days
Freezing
- Freeze unfilled cookies up to 2 months
- Thaw, then fill before serving
Common Problems & Fixes
Cookies Spread Too Much
- Butter too warm → chill dough
Cracked Thumbprints
- Press too hard → gentler indent
Dry Cookies
- Overbaked → reduce bake time
FAQs – Red Velvet Thumbprint Cookies
Can I make them ahead of time?
Yes! Bake cookies first, fill before serving.
Do I need food coloring?
Optional, but recommended for classic look.
Can I use natural coloring?
Yes—beet powder works, but color will be softer.

Final Thoughts
These red velvet thumbprint cookies are:
- Elegant yet easy
- Soft, rich, and festive
- Perfect for sharing or gifting
One bite delivers everything you love about red velvet—in cookie form.
🍪 Save this recipe, bake it for someone special, and enjoy every delicious thumbprint.