The Ultimate Guide to Dutch Oven Bread: Baking Mastery from Start to Finish
Baking Dutch oven bread is a game-changer for home bakers. This method allows you to create golden, crusty loaves with a tender crumb, just like those from artisan bakeries. Whether you’re new to bread-making or looking to refine your technique, this guide will cover everything you need to know about baking with a Dutch oven.
What is Dutch Oven Bread?
Dutch oven bread refers to bread baked in a lidded cast iron pot. This technique traps steam during baking, creating a crisp crust while preserving the soft, airy interior. The Dutch oven mimics the professional steam-injected ovens used in bakeries, allowing home bakers to achieve bakery-quality results.
If you’re curious about the science behind steam baking or want tips on choosing the best pot, check out this comprehensive guide.
Why Use a Dutch Oven for Bread Baking?
The Dutch oven isn’t just another kitchen gadget—it’s a transformative tool for bread baking. Here’s why:
- Steam Retention: The heavy lid traps steam, ensuring a crackly crust and an even rise.
- Even Heat Distribution: Cast iron heats evenly, providing consistent baking results.
- Professional Finish: The combination of steam and heat replicates bakery-quality loaves.
- Versatility: Great for a variety of bread types, from no-knead recipes to complex sourdoughs.
For a deeper dive into no-knead Dutch oven bread techniques, check out this step-by-step recipe.
Benefits of Dutch Oven Bread
Superior Crust
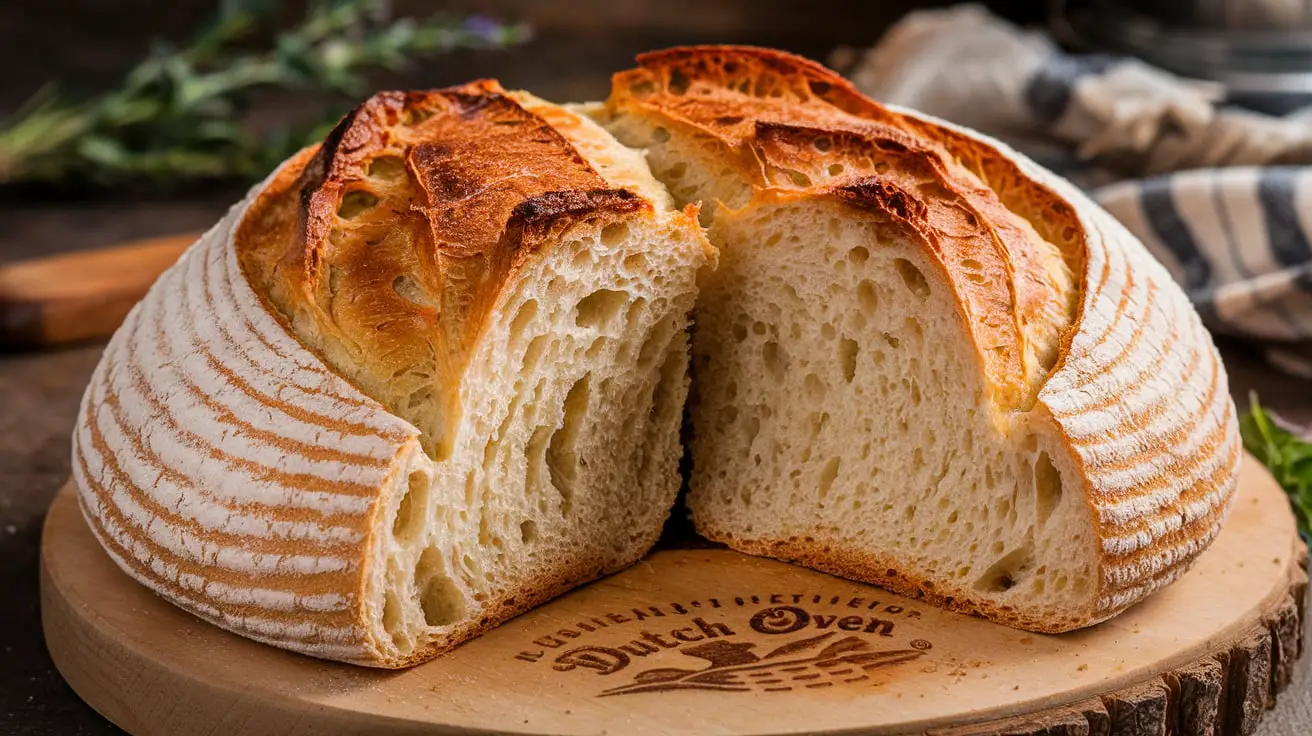
The steam trapped in a Dutch oven during baking allows the loaf to rise before the crust hardens. This results in a crust that’s both crispy and visually appealing.
Soft Interior
The retained moisture keeps the crumb soft and airy, perfect for absorbing butter, olive oil, or other toppings.
Artisan Appeal
Baking in a Dutch oven ensures a rustic, artisan-style look with beautiful “ears” and scoring patterns.
Equipment and Ingredients
To bake the perfect Dutch oven bread, you’ll need the following:
Essential Equipment:
- Cast Iron Dutch Oven: Look for a pot with a tight-fitting lid and a capacity of 4-7 quarts.
- Mixing Bowls: Use sturdy bowls for combining ingredients.
- Parchment Paper: Makes transferring dough easier and prevents sticking.
- Digital Kitchen Scale: For accurate ingredient measurements.
- Thermometer: To check water temperature and bread doneness.
Key Ingredients:
- Flour: All-purpose or bread flour works best; experiment with whole wheat or rye for variety.
- Yeast: Active dry yeast or instant yeast, depending on your preference.
- Water: Use lukewarm water to activate the yeast effectively.
- Salt: Enhances flavor and strengthens gluten development.
- Optional Add-ins: Herbs, seeds, cheese, or dried fruits for added flavor and texture.
Step-by-Step Guide to Making Dutch Oven Bread
1. Prepare the Dough
- Mix flour, yeast, salt, and water in a large bowl until combined into a shaggy dough.
- Cover the bowl with plastic wrap or a damp towel and let it rest for 12-18 hours at room temperature.
2. First Rise
- Allow the dough to ferment slowly, which develops flavor and texture.
- Check for bubbles and a slightly domed surface to ensure the dough has risen properly.
3. Shape the Dough
- Turn the dough onto a floured surface and gently shape it into a round loaf.
- Avoid overhandling, which could deflate the dough.
4. Second Rise
- Place the shaped dough on a sheet of parchment paper or in a proofing basket.
- Let it rise again for 1-2 hours until slightly puffed.
5. Preheat the Dutch Oven
- Place your Dutch oven in the oven and preheat to 450°F (230°C) for at least 30 minutes. Preheating ensures a burst of steam when the dough is added.
6. Bake
- Transfer the dough to the preheated pot using the parchment paper.
- Cover with the lid and bake for 30 minutes, then remove the lid and bake for an additional 15-20 minutes for a golden crust.
7. Cool
- Remove the bread from the pot and let it cool on a wire rack for at least 1 hour. This prevents the crust from becoming soggy.
Common Mistakes and How to Avoid Them

Even experienced bakers encounter challenges. Here’s how to avoid common pitfalls:
- Overproofing: If the dough rises too long, it may collapse during baking. Stick to recommended times.
- Underproofing: Dough that hasn’t risen enough will result in a dense loaf.
- Skipping Preheating: A cold Dutch oven won’t create the steam necessary for a crisp crust.
- Removing the Lid Too Soon: Steam is essential during the first part of baking, so avoid peeking.
Variations and Flavor Enhancements
Add Flavor with Mix-ins
- Herbs: Rosemary, thyme, or basil for a savory twist.
- Seeds: Sesame, sunflower, or flax seeds for crunch.
- Cheese: Parmesan or cheddar for a gooey surprise.
- Dried Fruits: Cranberries or raisins for sweetness.
Experiment with Flour Blends
- Whole Wheat: Adds a nutty flavor and dense texture.
- Rye: Pairs well with caraway seeds for traditional rye bread.
- Gluten-Free: Use specialty gluten-free blends for dietary needs.
Adjust Hydration Levels
- Higher water content creates a more open crumb with larger holes.
- Lower hydration produces a denser, more structured loaf.
FAQs About Dutch Oven Bread
Can I use a Dutch oven for sourdough bread?
Absolutely. A Dutch oven is ideal for sourdough because it creates the steamy environment essential for oven spring.
Why is my bread dense?
Common causes include insufficient proofing, incorrect flour ratios, or underactive yeast.
Do I need parchment paper?
While parchment paper simplifies the process, you can also use a well-floured kitchen towel for transferring the dough.
What size Dutch oven is best for bread?
A 4-7 quart Dutch oven works well for most loaves, providing ample space for rising.
Conclusion
Baking Dutch oven bread is a rewarding experience that brings bakery-quality results to your home kitchen. With its crusty exterior, soft crumb, and endless customization options, it’s no wonder this method has become a favorite among bread enthusiasts.
By following this guide and experimenting with variations, you’ll not only master the art of bread-making but also discover the joy of creating loaves that reflect your personal touch. Whether you’re making a simple loaf or a complex sourdough, the Dutch oven is your secret weapon for success.

