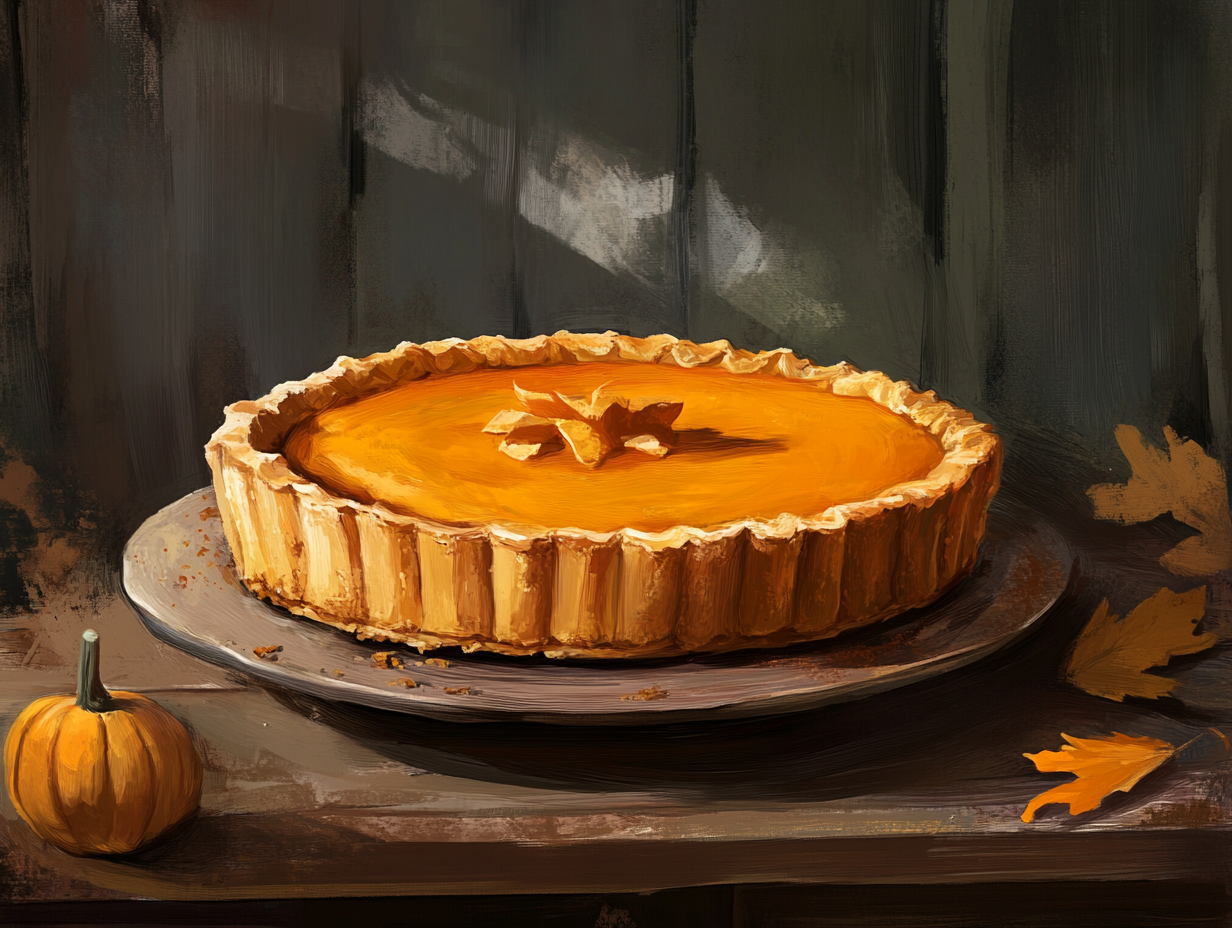
Pumpkin pie is a timeless dessert that embodies the warmth and coziness of fall. Featuring a perfectly spiced, creamy pumpkin filling and a flaky homemade crust, this pie is a staple for Thanksgiving and holiday tables alike. Whether you’re a seasoned baker or trying your hand at pies for the first time, this recipe delivers a foolproof way to impress your guests. Follow along to bake the ultimate classic pumpkin pie from scratch!
Ingredients
For the Pie Crust (or use pre-made crust):
- 1 ¼ cups all-purpose flour
- ½ teaspoon salt
- 1 tablespoon granulated sugar
- ½ cup unsalted butter, chilled and cubed
- 3–4 tablespoons ice water
For the Pumpkin Pie Filling:
- 1 (15 oz) can pure pumpkin puree
- ¾ cup granulated sugar
- ½ cup packed brown sugar
- 1 ½ teaspoons ground cinnamon
- ½ teaspoon ground ginger
- ¼ teaspoon ground nutmeg
- ⅛ teaspoon ground cloves
- ½ teaspoon salt
- 3 large eggs
- 1 cup heavy cream
- ½ cup whole milk
- 1 teaspoon pure vanilla extract
Preparation
Make the Pie Crust
- In a large mixing bowl, combine the flour, salt, and sugar.
- Add the cubed butter and cut it into the flour using a pastry cutter or your fingers until the mixture resembles coarse crumbs.
- Gradually add ice water, 1 tablespoon at a time, mixing gently until the dough just comes together.
- Shape the dough into a disc, wrap it in plastic wrap, and refrigerate for at least 1 hour.
Roll Out the Dough
- Preheat the oven to 375°F (190°C).
- On a lightly floured surface, roll out the chilled dough into a 12-inch circle.
- Carefully transfer the dough to a 9-inch pie pan. Trim any excess dough, leaving a ½-inch overhang, and crimp the edges. Refrigerate the crust for 15 minutes.
Blind Bake the Crust
- Line the crust with parchment paper and fill with pie weights or dried beans.
- Bake for 15 minutes. Remove the weights and parchment, and bake for another 5 minutes. Let cool.
Prepare the Pumpkin Filling
- In a large bowl, whisk together the pumpkin puree, granulated sugar, brown sugar, cinnamon, ginger, nutmeg, cloves, and salt.
- Add the eggs, one at a time, whisking until smooth.
- Stir in the heavy cream, milk, and vanilla extract until fully combined.
Assemble and Bake the Pie
- Pour the pumpkin filling into the cooled crust.
- Bake at 375°F (190°C) for 50–60 minutes, or until the filling is set but slightly jiggly in the center.
- Cool the pie on a wire rack for at least 2 hours before slicing.
Variation Suggestions
- Spiced Up: Add a pinch of cardamom or a splash of bourbon for a unique twist.
- Crust Options: Use a graham cracker crust for added texture and sweetness.
- Dairy-Free Version: Substitute coconut milk for heavy cream and milk.
Cooking Note
To avoid cracks in the filling, don’t overbake. The pie will continue to set as it cools.
Serving Suggestions
- Top each slice with a dollop of whipped cream.
- Sprinkle cinnamon or nutmeg over the whipped cream for added flair.
- Serve with a side of vanilla ice cream for a decadent touch.
Tips
- Use cold butter for a flaky crust.
- Chill the dough thoroughly before rolling to prevent it from tearing.
- Allow the pie to cool completely before slicing to ensure clean cuts.
Prep Time: 25 minutes
Cooking Time: 1 hour
Total Time: 3 hours (including cooling)
Nutritional Information (Per Serving):
- Calories: 310
- Protein: 6g
- Fat: 15g
- Carbohydrates: 40g
- Fiber: 3g
- Sugar: 25g
- Sodium: 250mg
FAQs
Q: Can I make this pie in advance?
Yes! Pumpkin pie can be made up to 2 days in advance. Store it covered in the refrigerator until ready to serve.
Q: Can I freeze pumpkin pie?
Absolutely! Wrap the cooled pie tightly in plastic wrap and aluminum foil. Freeze for up to 2 months. Thaw overnight in the refrigerator before serving.
Q: Can I use fresh pumpkin instead of canned?
Yes! Roast or steam fresh pumpkin, then puree until smooth. Ensure the puree is well-drained to avoid a watery filling.
Conclusion
Pumpkin pie is a delightful centerpiece for any fall or holiday celebration. With its smooth, spiced filling and buttery crust, it’s a recipe that’s sure to become a family favorite. Follow these steps to create a show-stopping dessert that tastes as good as it looks.

